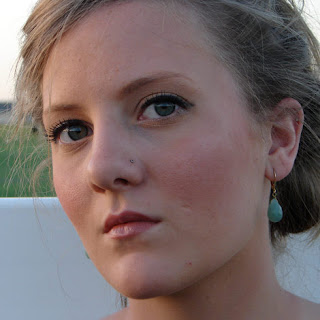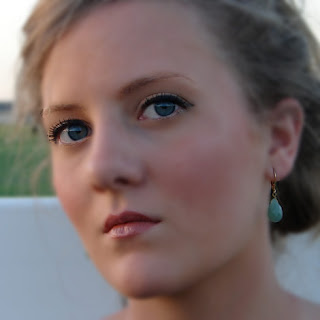

Before and After
At the start of our media A level we were given a lesson into how to edit an image to improve or to edit it to make it appropiate for its given purpose. We were taught how to use Photoshop on a model of a person. 1) First step I did was to create a new layer. 2) I was taught how to use the 'Spot healing tool' to easily edit out any skin blemishes like spots and a nose piercing. 3) I was then taught how to smooth the models skin by using 'Gaussian Blur' (changing the pixels until I found a suitable amount). 4) After I used the 'Rubber tool' to rub the blur off the areas that didn't need to be blurred such as the eyes, eyebrows, lips and her earring. 5) I had to make a new layer for editing the colour of the models eyes(LAYER 2). 6)I had to select the 'Brush tool' making sure that its pixel size matched the size of the models irises. 7) I then needed to choose a colour from the 'palette' that would be the colour i would change the irises to - i chose a bright blue (the models original eye colour was green). 8) After I had chosen i used the 'Brush tool' to go over the models irises. 9) This covered the irises with big blue circles so i needed to use 'Soft light' and change the opacity down to about 40% to make the new eye colour more realistic and not look like just a big blue blob over the irises.
No comments:
Post a Comment